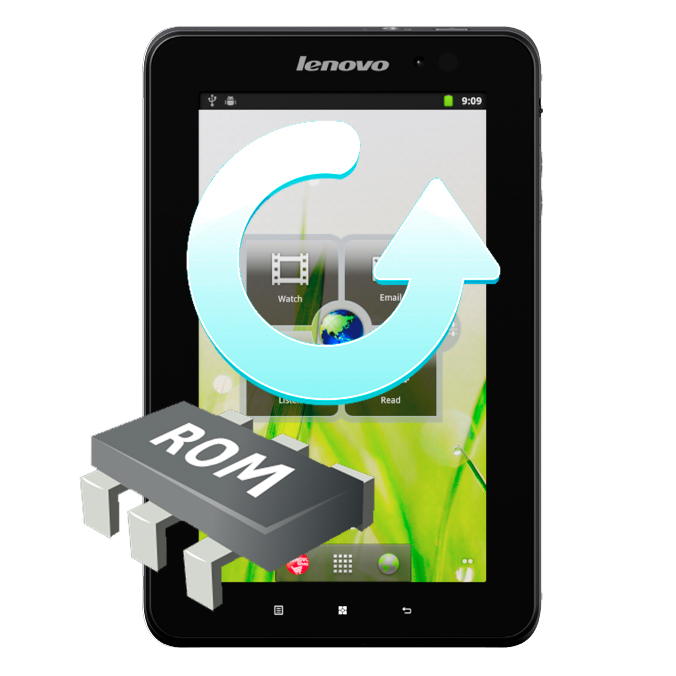
 I am very happy to hear that many people had successfully flashed/upgraded their lenovo Ideapad A1 from Gingerbread 2.3 to Android 4.0.4 using the method I have described here. Personally, I have no problems when performing the upgrade flashing, and most people reported success in their upgrade. To other folks who used other methods and seem to hit problems when trying to flash theirs – resulting in a “dead” or bricked Ideapad A1, I would like to share 25 simple steps you can take to unbrick/”resurrect” your Ideapad A1! =D
Definition of a “dead” or “bricked” Ideapad A1: It refuses to boot up properly. It refuse to show anything on the screen. (Assuming hardware is okay). You can also use the procedures below to restore the Ideapad A1 to a completely stock factory state.
Warning: The procedure below will erase all the data on your Ideapad A1 device!
(The usual disclaimer applies…)
Step 1: Go and download the bootable SD image for the 16GB A1-07 model (i.e. comes with Gingerbread 2.3) at any of the two URLs: Here or Here (alternate link). Make sure the download is complete. Take note that the MD5 hash for the 16GB (Gingerbread 2.3) download is “430ab1f91855d7a5b446a464f9c479cf“. You will need this information to ensure that the image is completed and not corrupted in the Win32DiskImager. As we all know, Internet downloads can screw from time to time.
Step 2: You will need to have a micro SD card so that the device can boot from the micro SD card. Get ready a micro SD card that is minimally 512MB in size, and preferably class 4 speed or above for faster reads/writes.
Step 3: Create a bootable micro SD card. If you are on windows, download Win32DiskImager at https://launchpad.net/win32-image-writer/0.6/0.6/+download/win32diskimager-binary.zip. It should be version 0.6 as the latest at the point of writing of this article. Unzip the contents into a folder on your computer. Run the Win32diskimager EXE file:
Step 4: Once the diskimager is launched, you will see the following window below. The blue part is where you choose the large .IMG image file you have downloaded. The red part is where you specify the drive which represent your micro SD carder with micro SD card inside (likely a removable drive). The green part is where you will check it to reveal the .IMG’s Md5 hash. The reveal hash should be the same as 430ab1f91855d7a5b446a464f9c479cf for the 16GB gingerbread image.
Step 5: Once MD5 is verified to be ok, you can click on the “Write” button to start writing the bootable image into the micro SD card! This will take a while (1 to 2 minutes), depending on the speed of your micro SD card. Once the write is completed with a “Write Successful” message, proceed to Step 6.
Step 6: Check that your Ideapad A1 device has enough battery power to do the restore procedure. Anything more than 40 or 50% is good enough; the more power the merrier. Some of our folks may have a “dead” device. If this so, you can try to plug in the charging cable, then press and hold the power button for 10 seconds, and then release it. Repeat the press + hold + release steps until you see the green charging symbol on the screen. Once you see that, release the button. Make sure the device is well-charged to proceed to Step 7, just to be safe.
Step 7: Next, turn off your Ideapad A1. Take the micro SD card that you have just “written” from the card reader and insert firmly into the Ideapad A1 device.
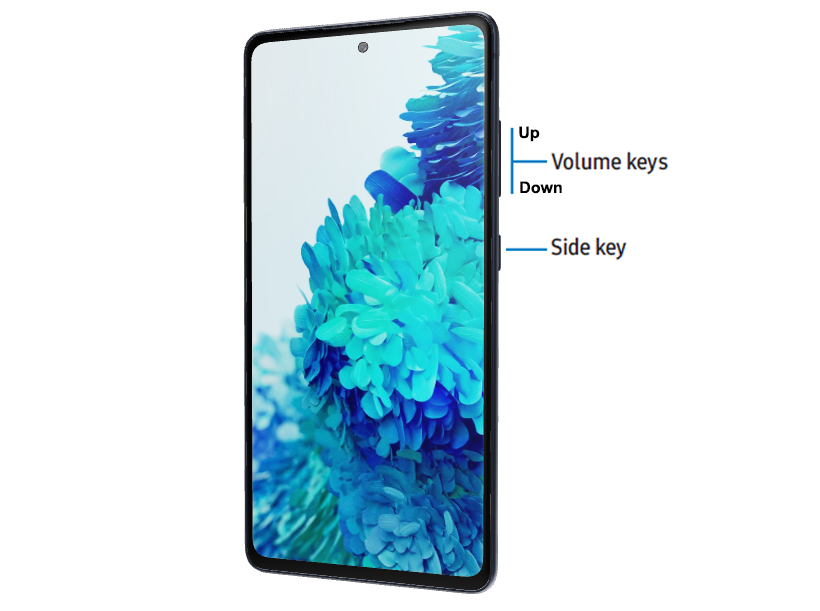
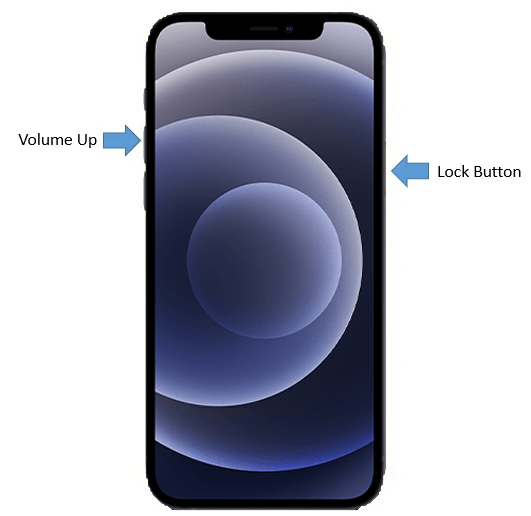
Step 8: Hold the volume down key (keep holding it there) + press the the power key at the same time. Release both keys once you see the white lenovo logo. This will cause the device to boot straight from SD card. Wait until you see a menu “CWM-based recovery v6.0.1.2″ appears. To navigate the menu system, use the volume up/down keys to choose the menu items, and use the power key to select/”confirm” the item. If you don’t see the menu for some reason. Remove the SD card, power down the tablet, and repeat Step 8 carefully again.
Step 9: Select “install zip from sdcard” item using up/down key then press power key.
Step 10: Select “choose zip from sdcard” item using up/down key then press power key.
Step 11: Select “part1.zip” item using up/down key then press power key.
Step 12: Choose “Yes – Install part1.zip” item using up/down key then press power key. You will need to press a number of times of the down keys to reach it 🙂
Step 13: You should shortly see a message telling you that “Install from sdcard complete.” as the last message on the bottom of the screen.
Step 14: Choose “+++++Go Back+++++” item using up/down key then press power key.
Step 15: Choose “reboot system now” item using up/down key. Before you select using the power key, make sure you are ready to hold down the “volume down” button after you hit the power button to select the reboot.
Step 16: As soon as you select “reboot system now” by pressing power button, start holding down the volume down key. Release the volume down button once you see the white lenovo logo. The tablet will then reboot into micro SD card containing the the recovery mode again. Ignore any error you may see at the bottom of the screen.
Step 17: Repeat Step 9 to Step 13, but choose “part2.zip” in step 11 & 12. You should see several messages scroll up at a screen with a green android figure with a progress bar. Once the upgrade is complete, the graphics will disappear and you will see the message “Install from SD card complete.”
Step 18: Repeat Step 9 to Step 13, but choose “part3.zip” in step 11 & 12. You should see several messages scroll up at a screen with a green android figure with a progress bar. Once the upgrade is complete, the graphics will disappear and you will see the message “Install from SD card complete.”
Step 19: Choose “+++++Go Back+++++”
Step 20: Select “wipe data/factory reset”
Step 21: Select “Yes — delete all user data“.
Step 22: Once the wiping and formatting is completed, you should see the message “Data wipe complete.”

Step 23: Remove the micro SD card from the micro SD card slot.
Step 24: Choose “reboot system now”. The system will boot as per normal. If your ideapad A1 hangs on the first boot, or doesn’t boot up, hold down the power button for 10 seconds to force-turn it off. Wait for a while, then press the power button to turn it back on again.
Step 25: Congratulations! If your procedure was successful, you should see the factory state screen, which has an android logo with a message “Welcome to A1_07”, since we used the A1-07 16GB Gingerbread Image. Follow the instructions on the screen to start using the device! 🙂 Share this article with those with Lenovo Ideapad A1; you will never know when your friends will need to do a factory reset! =D


Worked like a charm. Many thanks.
Step 8 does not boot from SD, it goes to the Lenovo logo and says “Factory Mode”. What can I do?
Thanks .. It worked for me .. (Y)
i cant seem to do this. any help?
[…] should hang or become unoperational during the flashing (which should not), you can follow my 25 Steps guide to restore the broken Ideapad back to life again […]